How to scan documents in Windows 10

In our modern digital world, needing to scan physical documents onto your PC is becoming increasingly rare. However, there are a number of situations where it remains useful.
If you need to hand sign a contract but send it via email, or make a copy of an important physical document that you can’t afford to lose, scanning it onto your computer is the most effective option. It can also be great if you have physical photos that you’d like to use for a digital photo album or to share with friends and family.
Most modern scanners come with their own software, but there are two easier methods if you’re using Windows 10. All the instructions below apply to scanning both documents and images.
How to scan documents using the Windows Scan app
The Windows Scan app is arguably the easiest way to scan documents onto your Windows 10 device:
- Download Windows Scan from the Microsoft Store. You’ll be redirected to the desktop app to install it on your device
- Open the app once it’s been downloaded. You’ll then be prompted to connect a scanner, which can be either physically via USB or wirelessly
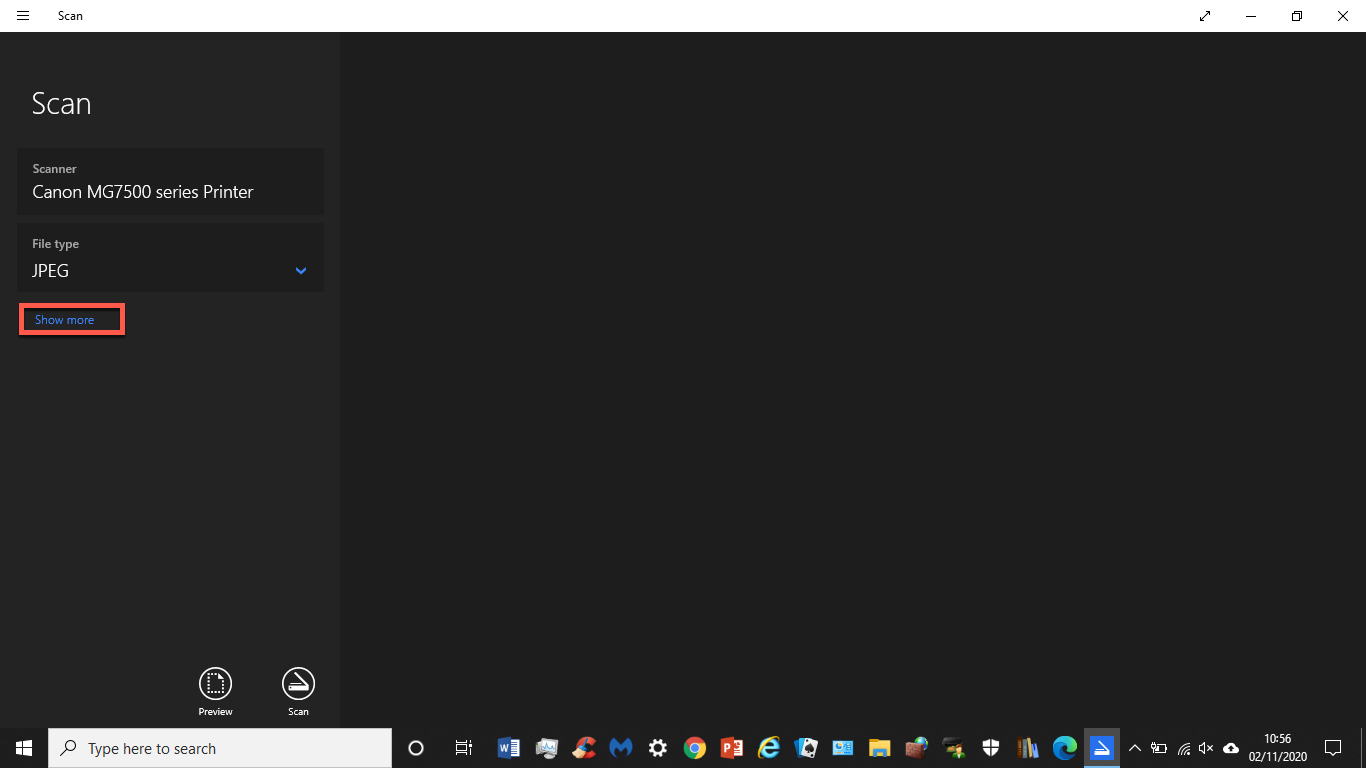
- From the next screen, make sure the correct scanner is selected and choose which file type you’d like the scan to be uploaded as (JPEG, PNG and PDF are the most common)
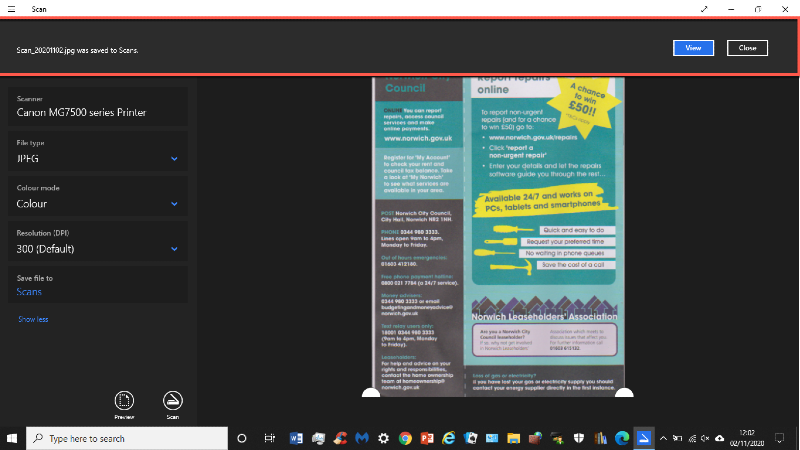
- Before proceeding, click the ‘Show more’ to choose whether you’d like it in colour or black & white, as well as the resolution and where the file will be saved
- Click ‘Preview’ to ensure you’re happy with your selection, using the pins to crop if necessary
- When you’re ready, click ‘Scan’. After a few seconds, a message will pop up saying it has been saved, and prompt you to view the file
How to scan documents using Windows Fax and Scan
Despite being older software, Windows Fax and Scan is still supported in Windows 10 and operates in much the same way. Here’s how to use it:
- Open Windows Fax and Scan by searching for it next to the Start Menu
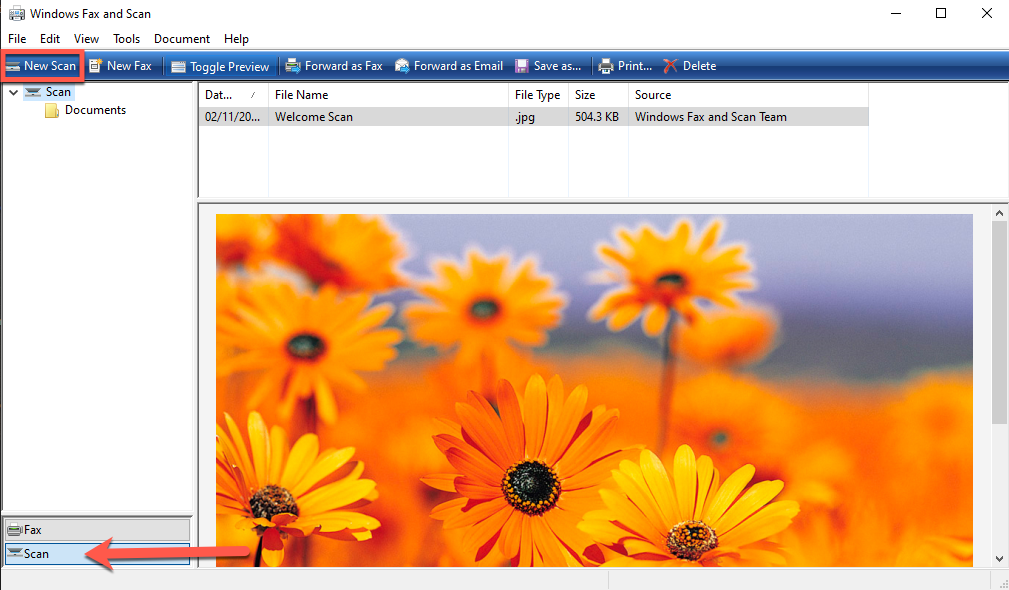
- From the main screen, click the ‘Scan’ option in the bottom right corner and then ‘New Scan’ from the menu along the top
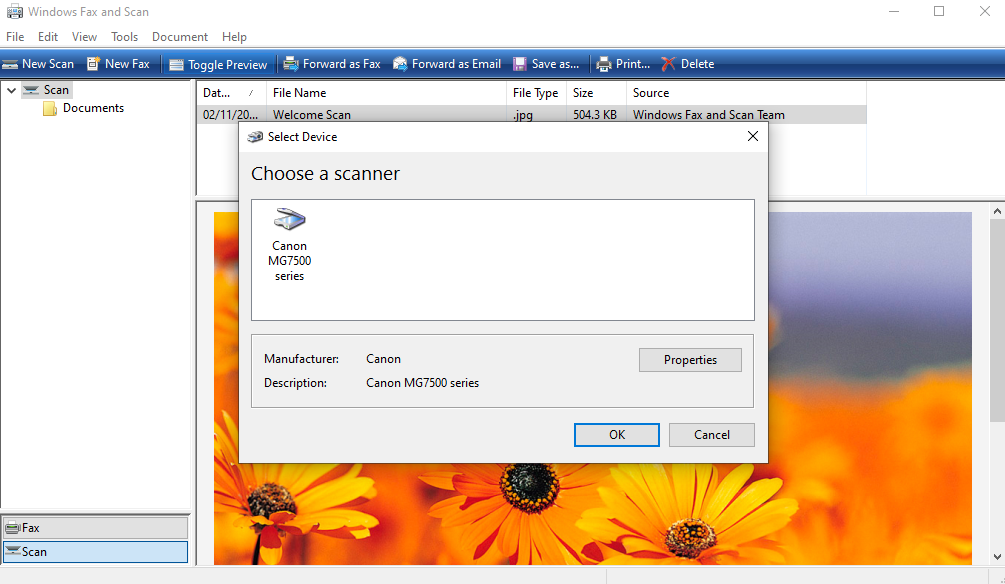
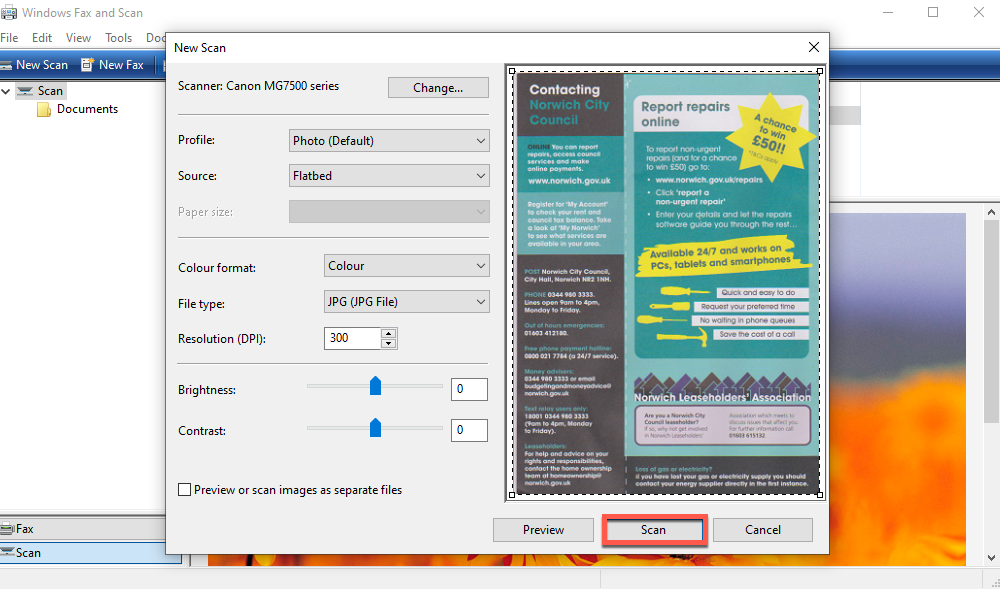
- In the window that appears, you should see a list with various settings. First, check that the scanner selected is the one you want to use. If not, click ‘Change…’ and choose the correct one (making sure it’s turned on and connected of course!) before confirming with ‘OK’
- Customise the remaining settings according to your preferences. ‘Source’ should be set to ‘Flatbed’ unless you have a scanner where you feed the document in
- Click ‘Preview’ to make sure the scan is what you’re looking for and then ‘Scan’ to finalise
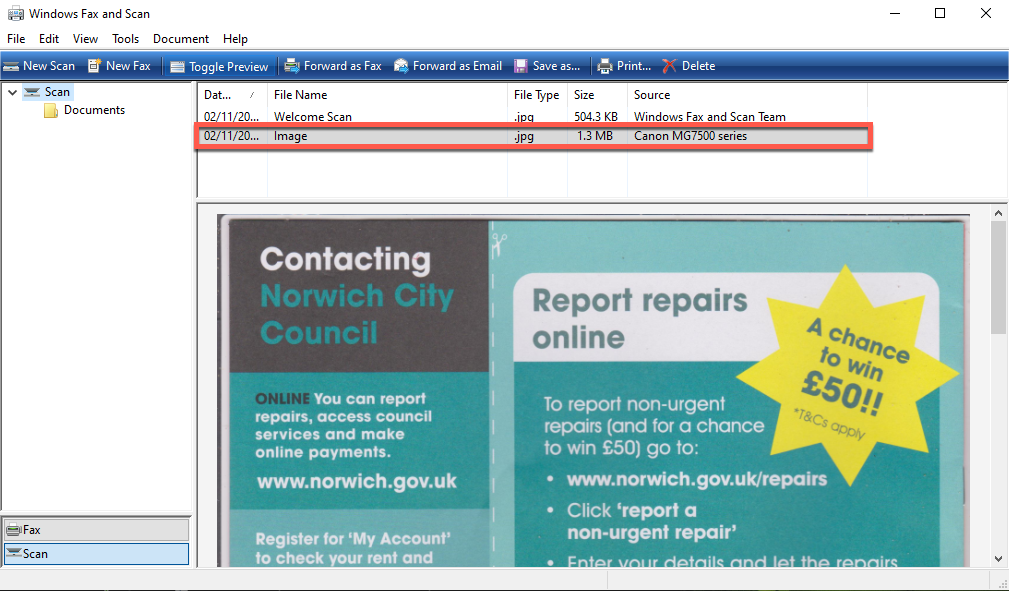
- After a few seconds, you should see the file appear on the home screen. The left pane will show where to find it within File Explorer
Scanning isn’t your only option if you need to sign a document. Here’s how to add a digital signature to a PDF.
